Create Category for Grade
Blackboard provides a few categories (Assignment, Survey, Test, Discussion, Blog, Journal, Self and Peer) to choose from. If you have assignments or assessments that don't fit one of those, you may want to create a New Category. Without assigning a category to a grading item, you cannot use functions such as dropping the lowest score in quizzes.
- Make sure the Edit Mode is ON
- Expand Grade Center under Course Management, and select Full Grade Center
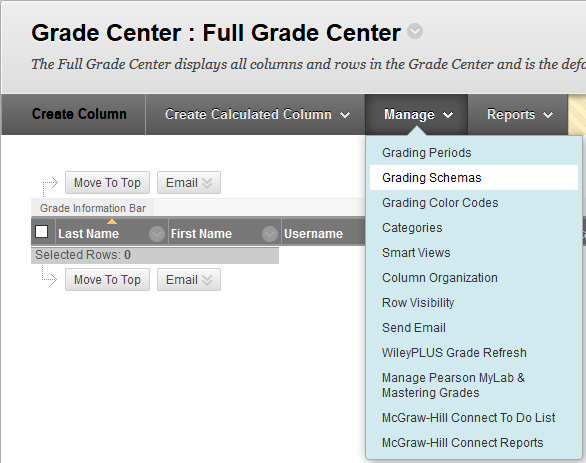
- Under Manage, select Categories
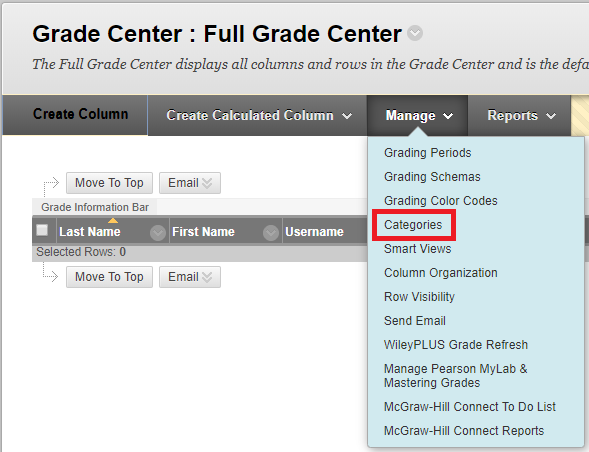
- On the Categories page, click Create Category
- Enter the Name
- Click Submit
Create a Column for Manual Grade Entry
Grading columns are suitable for manual grade entries. If you have an assignment or a test submitted online, Blackboard will create a grading column for it automatically. To create a manual-entry grading column:
- Make sure the Edit Mode is ON
- Expand Grade Center under Course Management, and select Full Grade Center
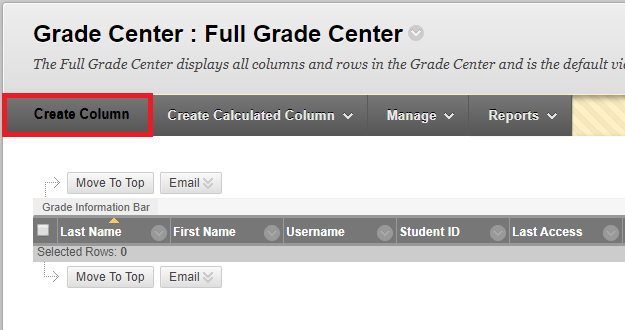
- Choose Create Column (the first tab) above the grade table
- On the Create Grade Column page, enter Column Name
- Choose the Category***, and assign Points Possible
- Click Submit to complete the process
***If the category doesn't exist, complete the remaining steps. Follow the instructions in 'Create Category for Grade' and then return to this step to choose the Category.
Creating a Total/Overall Grade column
By default, a Total column is provided in the Grade Center. This column will display the sum of other columns. The only reason you want to create another Total column is because the sum does not accurately reflect the overall grade.
For instance, an assignment has its own grade column, and a new column was created to show the sum (aka subtotal) of all assignments. In that case, the Total column would have counted that particular assignment twice.
Total and subtotal are built the exact same way. Both subtotal and total use Total Column. The only difference is that, for a subtotal, you pick the grading items (e.g. individual assignments) to calculate the sum. For overall total, you select ALL subtotal columns to calculate the sum.
To create a Total column:
- Make sure the Edit Mode is ON
- Expand Grade Center under Course Management, and select Full Grade Center
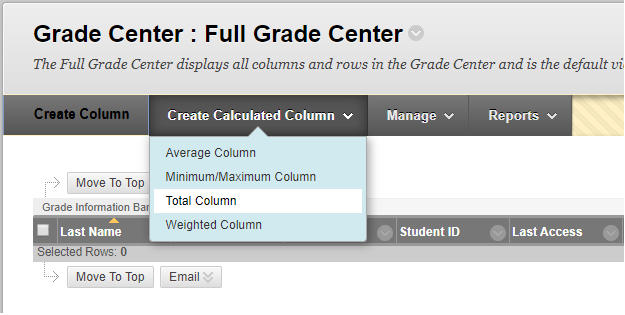
- Under the Create Calculated Column tab, choose Total Column
- On the Create Total Column page, enter the Column name
- Under the Select Column Sections, find Include in Total and pick Selected Columns and Categories
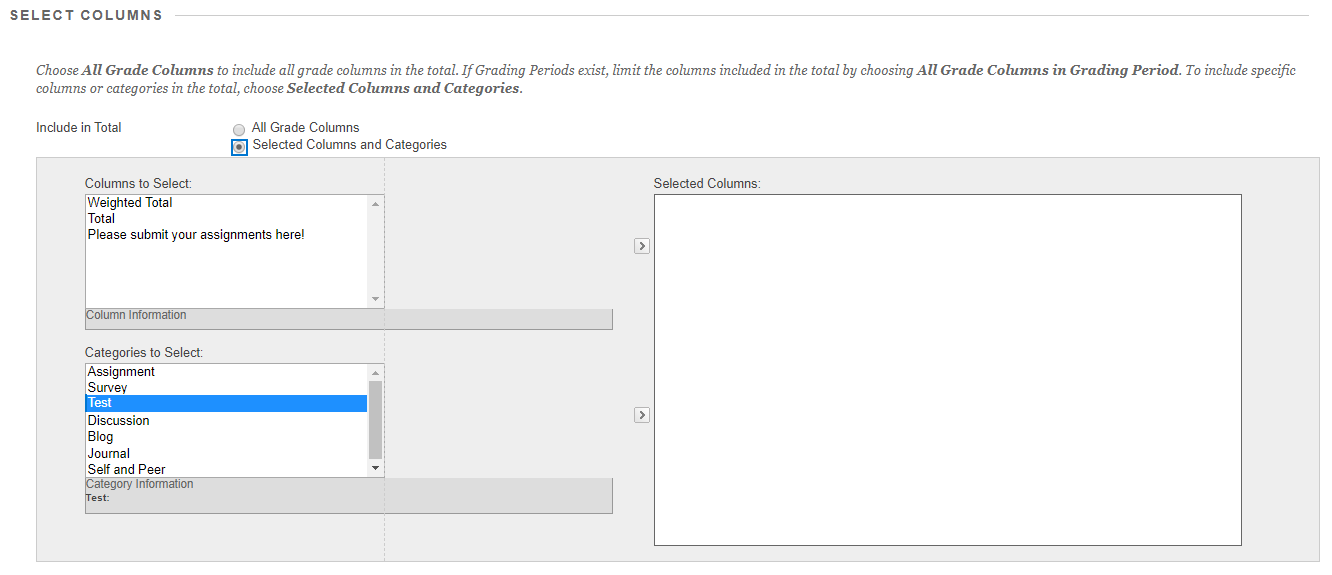
- In the Categories to Select box, highlight the categories
- Use the arrow immediately to the right of the box to include the item(s) in Selected Columns
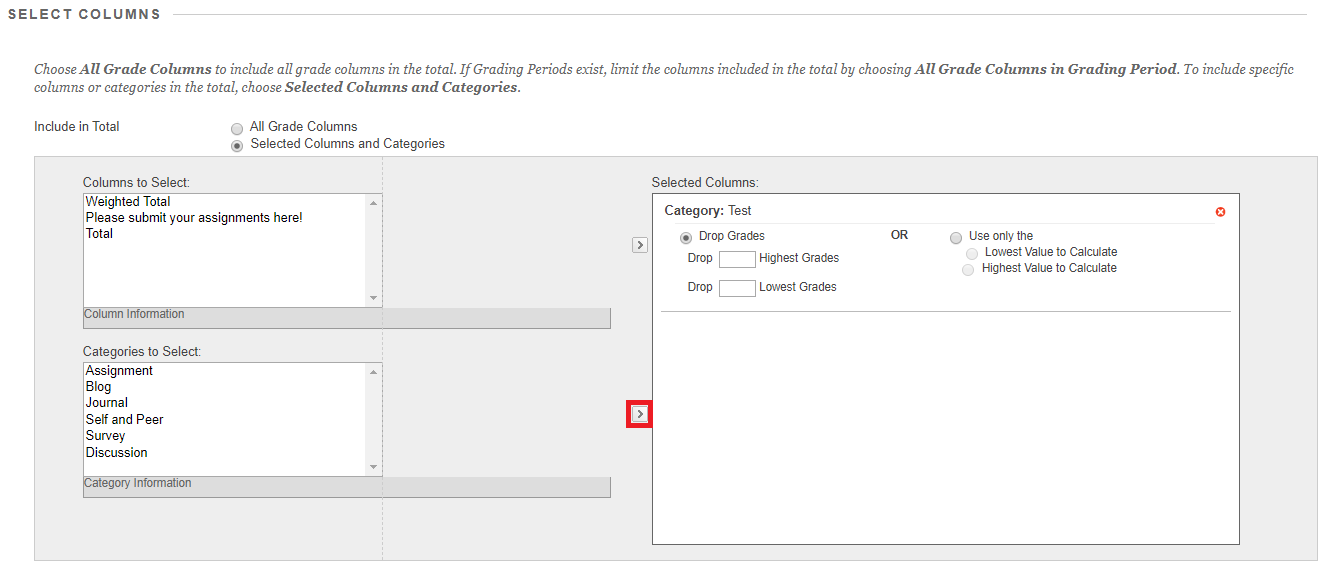
- Enter the number of Drop score, if necessary
- Repeat step 6-8 until needed categories are added
- Select 'No' for Calculate as Running Total (running total is only based on what is graded; non-running total is based on ALL items)
- Click Submit to complete the process
Weighted Total Column (with a pre-determined percent for each category)
By default, a Weighted Total column is provided in the Grade Center. Weighted Total allocates a certain percentage to each category to determine the overall grade. Since the system does not know the grade distribution, the column default is blank. To use the Weighted Total column, the item sum of a category (e.g. assignment subtotal) must be readily available. Unless the category has only one item (e.g. a research project), you MUST assign a category to the items. In the case of a single item category, the grade column is already the sum of that category.
To build the Weighted Total formula:
- Make sure the Edit Mode is ON
- Expand Grade Center under Course Management, and select Full Grade Center
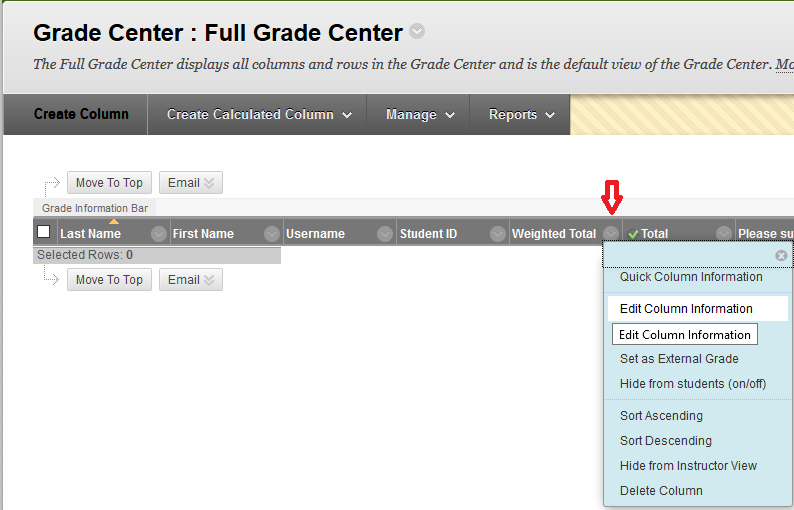
- Click the chevron for Weighted Total and choose Edit Column Information
- Find the Select Columns section
- In the Categories to Select box, highlight a category
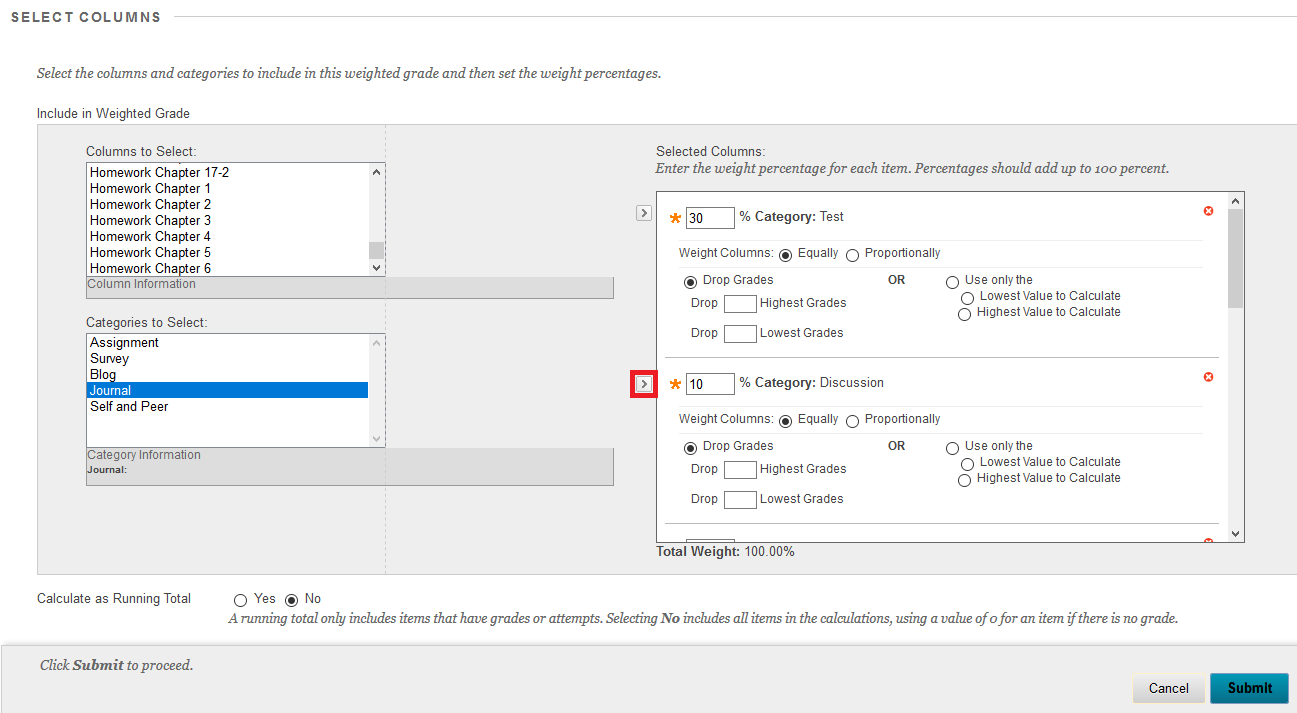
- Add that category to Selected Columns by clicking the arrow immediately to the right
- Assign the percentage for the category/subtotal
- Enter the number of drop scores, if necessary
- Repeat step 5-8 until you include all categories
- Select 'No' for Calculate as Running Total (running total is only based on what is graded; non-running total is based on ALL items)
- Click Submit
Set up Grading Schemas
Blackboard takes the actual points from graded items and compares them to the possible points. Subsequently, it derives a percentage. Schemas allow you to map the percentages and display a letter grade. An existing schema named 'Letter' is typically provided. Though modifying 'Letter' schema and creating a new schema use the same procedure.
To create a Schema:
- Make sure the Edit Mode is ON
- Expand Grade Center under Course Management, and select Full Grade Center
- Under the Manage (the third) tab, choose Grading Schemas
- Click Create Grading Schema
- Enter the name of the Schema
- On the Schema Mapping, set the Grades Scored Between (in percentages) that Will Equal to the letter grade 'A'
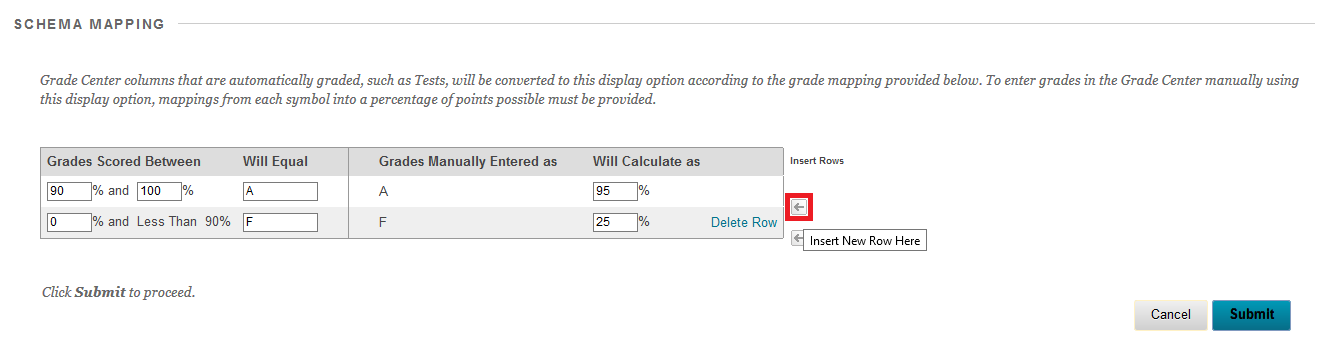
- On the right hand side of the mapping, click the first arrow to insert a row for the next grade
- Repeat step 6-7 but using second, third, fourth arrow, so on and so forth till the table is complete
- Click Submit to save
Grade Display
By default, Blackboard uses the actual score entered as the primary display. There are other secondary display options: Letter, Text, Percentage, and Complete/Incomplete. Both primary and secondary display options can appear in the same box. For instance, you can display the final grade using score (as the primary display) and letter (as the secondary display). For example, 873 (B+). You can also display score and letter using two columns. The advantage of using another column allows you to label them with different names.
Adding a secondary display option:
- Make sure the Edit Mode is ON
- Expand Grade Center under Course Management, and select Full Grade Center
- Find the chevron for the grade column you want to change
- Select Edit Column Information
- Under Column Information, find Secondary Display
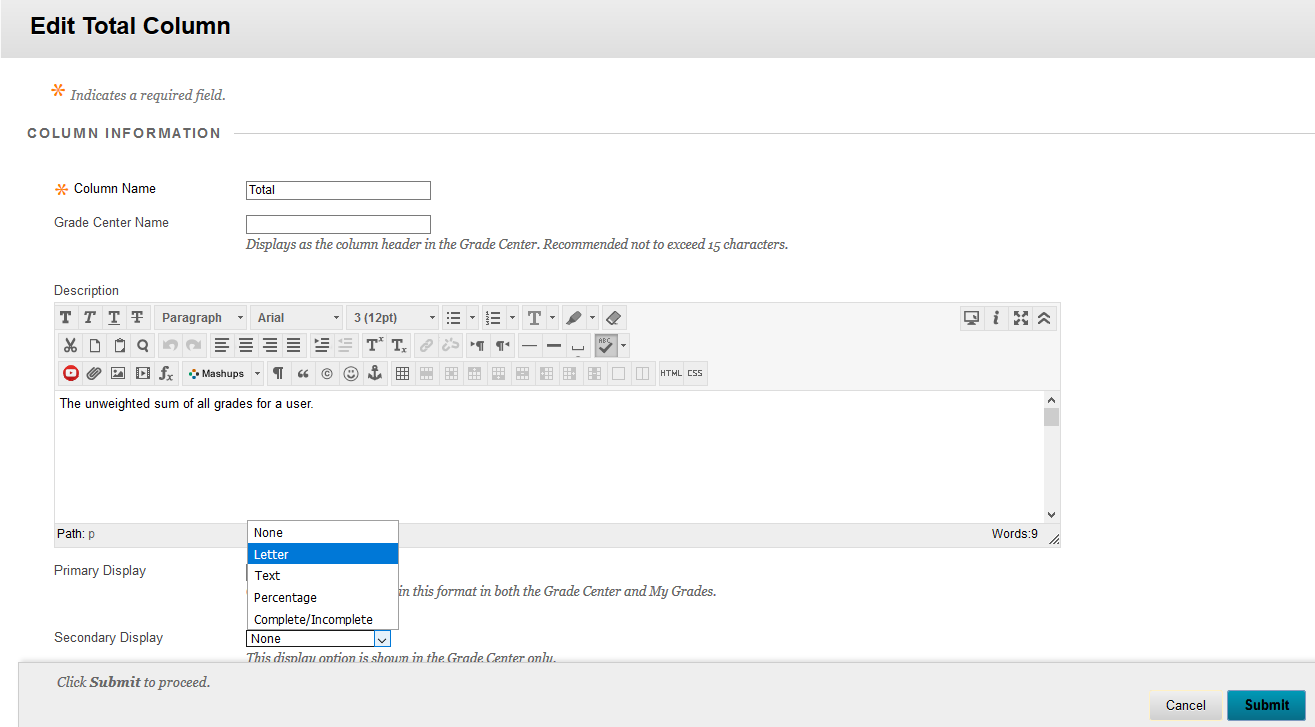
- Choose the option you prefer
- Click Submit to accept the change
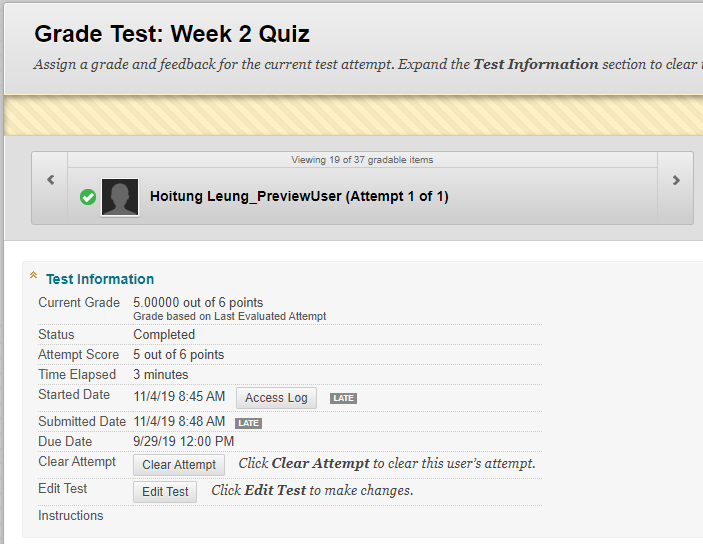
Accepting "Late" Test Submission
Instructors may allow students to start an online test after the due date. Like before the due date, all T/F, multiple choice, multi-choices questions are automatically graded. Essay/short answers still require manual grading. If a test is completed after the due date, the score is marked 'late'. And the score is not automatically released to the student. It is at the instructor's discretion to accept the grade. If the instructor doesn't accept the grade, no action is required.
To accept and publish the score:
- Make sure the Edit Mode is ON
- Expand Grade Center under Course Management, and select Full Grade Center
- Find the student grade you'd like to publish, the icon could be yellow (with an exclamation point) or blue (with a pie clock)
- Choose View Attempt for the grade
- If you expand Test Information, you should see the test is marked 'LATE'
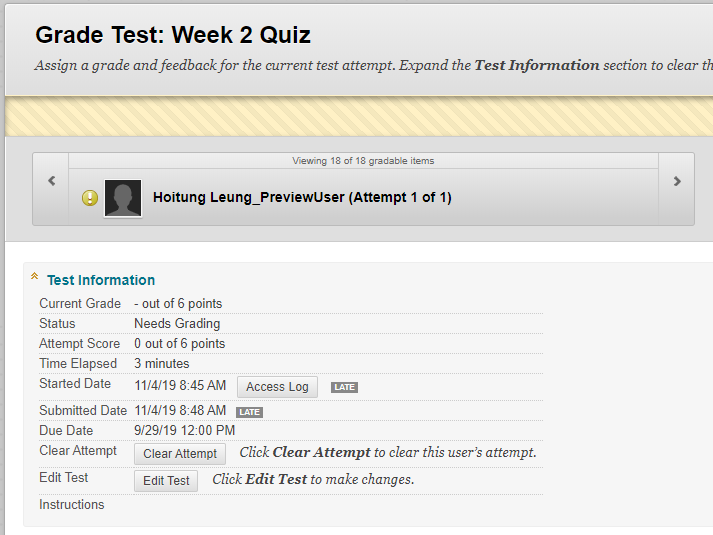
- The icon next to the student's name indicates the status of the score (in this case, yellow with an exclamation point)
- Make sure to grade the essay/short answer questions
- Click Save and Exit to publish the grade (Exit is the same as 'cancelled')

- After Save and Exit, the icon next to the student's name will turn green with a check mark